-
-
Visit iClicker.com, hover over the "Create an Account" text in the upper right corner and choose "Instructor" from the pulldown menu.
- On the next page, in the field for Primary Institution, start typing "University of Oregon" until you can choose the preset text.
- A page of empty fields opens for you to fill in with appropriate information. Once completed, click the blue "Create Account" button.

-
Getting Started with iClicker Cloud
Getting Started with iClicker Cloud
Benefits of using iClicker Cloud
- Assess Pre-Lecture Understanding: Kickstart lectures by gauging students' existing knowledge, setting the stage for effective learning.
- Boost Classroom Engagement: Transform passive listening into active participation, keeping students invested and attentive.
- Foster Active Learning: Encourage a hands-on approach to learning that makes every lecture a collaborative, interactive experience.
- Promote In-Class Discussion: Stimulate lively academic discussions, enhancing the learning environment for everyone.
- Improve Learning Outcomes: Leverage immediate feedback to refine teaching methods, ensuring content is both understood and retained.
- Track Teaching Effectiveness: Utilize real-time data to assess and adapt teaching strategies, maximizing educational impact.
Follow the steps below to start using iClicker Cloud in your classes.
Related Topics:
iClicker
Create an iClicker Cloud Instructor Account
Create a Course in iClicker Cloud
-
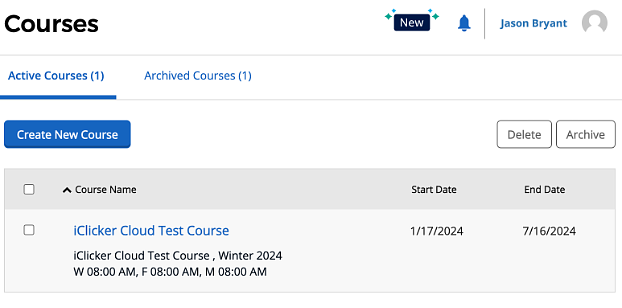
Once you've created an account, the "Active Courses" list will be your default homepage on the web application, which is empty for now. Note that a tab behind this page called "Archived Courses" will ensure you can access past course data.
- To get started, click the blue “Create New Course” button at top left of the page.
- A page will load to give you options for setting up the course. Under Course Type, the default option—“Full Course”—is the standard choice because it allows instructors polling, quizzing, assignment, and attendance options. If your course will only use iClicker Cloud for attendance, choose that option.
- Complete the remaining fields on the form as accurately as you can. Doing so with as much information as you can allows students to see important details they may need to enroll in the correct course. (For instance, in the Optional section, for Course ID, you might identify the CRN for the course so students searching for courses will be able to select your course section from others offered this term).
- When you have provided all course information, click the blue “Create” button at top right of the form.
- You will be returned to the "Active Courses" list, where your newly created course appears. When the end of term arrives—which corresponds with the course end date you’ve set—your active courses will automatically be moved to the Archived Courses list.
- To get started, click the blue “Create New Course” button at top left of the page.
Manage Course Settings
-
You can monitor and adjust these settings either via the web application at iClicker.com or via the iClicker Cloud desktop app (find instructions about how to set up the desktop app, which is necessary for in-class use of iClicker Cloud). You can also adjust these settings at any time, whether before class, during an active class session, or after class.
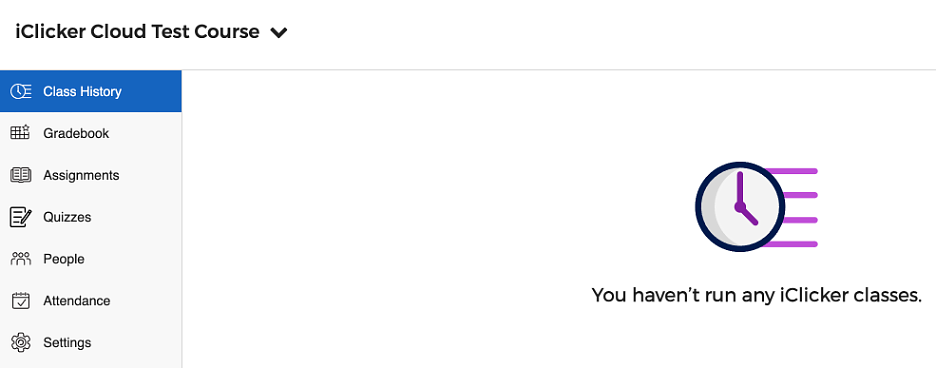
- To manage course settings, you will choose the appropriate course from your "Active Courses" List, which opens a page dedicated to that course.
- A lefthand sidebar menu shows options for managing your course. Choose "Settings." To familiarize yourself with these settings, note the blue tabs that run along the page, which are detailed below.
- Course Details
-
If you have just created your course, this is the page where you entered course information:
Course Type
The "Full Course" option includes the ability to conduct polling, quizzes, assignments as well as take attendance and the "Attendance Only" option only allows students to check into class on their own devices to register attendance.
Course Information
These are the details you entered when you set up the course, which should be consistent throughout the messaging you provide students in your course syllabus and Canvas site.
- Note the "Join Code" option here. You can invite students to join the course by sending them a code. For instructions on how to do this and view how students receive the code to join, follow iClicker Cloud's guide, "How to Invite Students to Your Unlisted Course."
Upon completing adjustments to your Course Details settings, click the “Save” button at top right of the Course Settings page.

- Devices
-
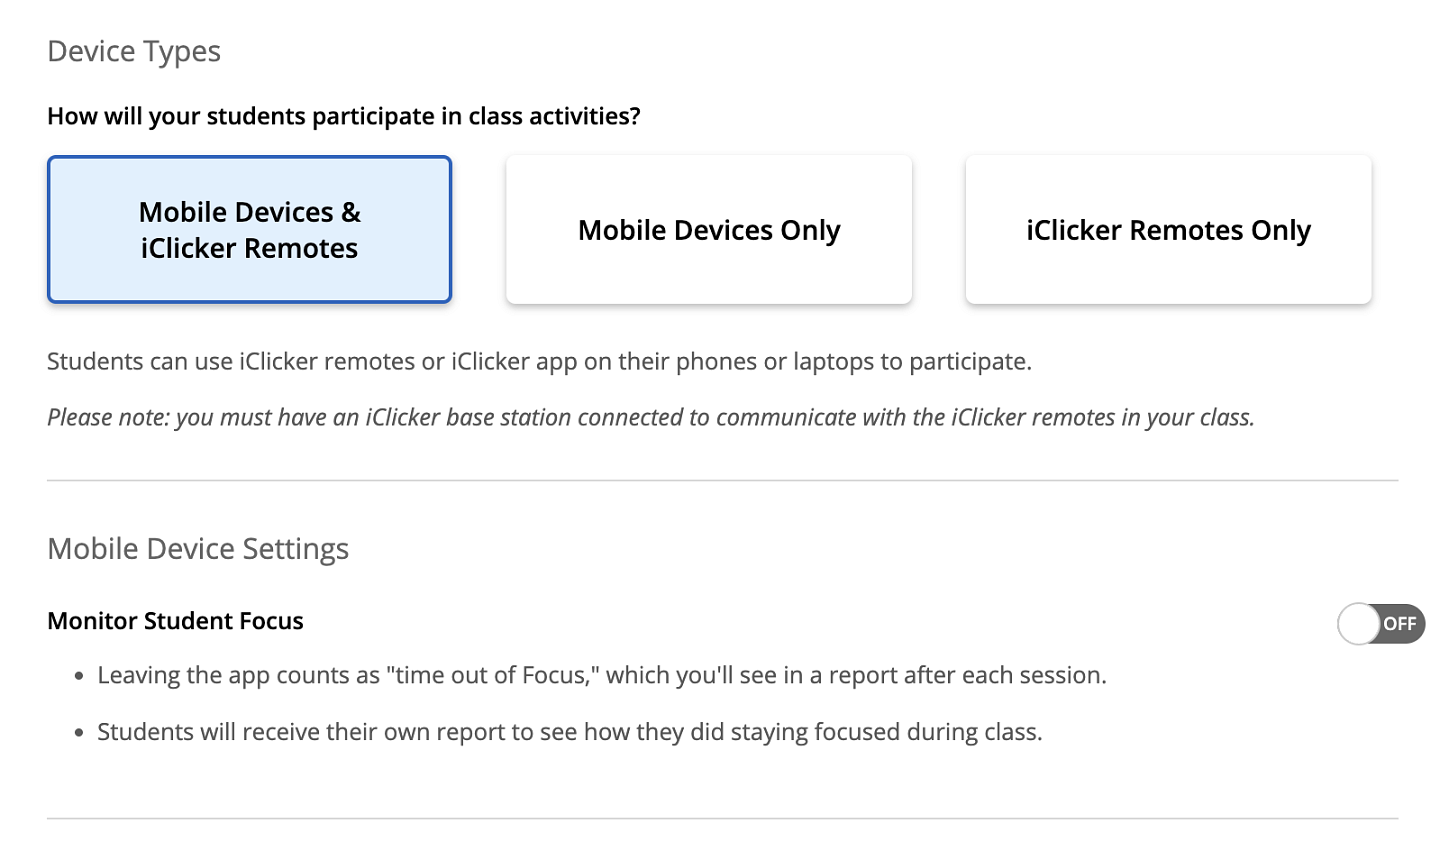
This tab allows instructors to determine how students will participate in the course.
Device Types
You have three options and the default includes both phones and apps (Mobile Devices) and iClicker Remotes. If you choose either Mobile Devices & iClicker Remotes or iClicker Remotes Only, please be aware that you must have an iClicker base station connected to communicate with those remotes in your class.
Mobile Device Settings
- "On": Clicking the slide button to “on” enables iClicker Focus, an in-app feature to report whether or not students navigate away from the iClicker student web or mobile app. Both instructors and students are notified when students leave the app and for how long.
- “Off” does not monitor student activity with the apps.
iClicker Remote Settings
Upon completing adjustments to your Devices settings, click the “Save” button at top right of the Course Settings page.
- "On": Clicking the slide button to “on” enables iClicker Focus, an in-app feature to report whether or not students navigate away from the iClicker student web or mobile app. Both instructors and students are notified when students leave the app and for how long.
- Attendance
-
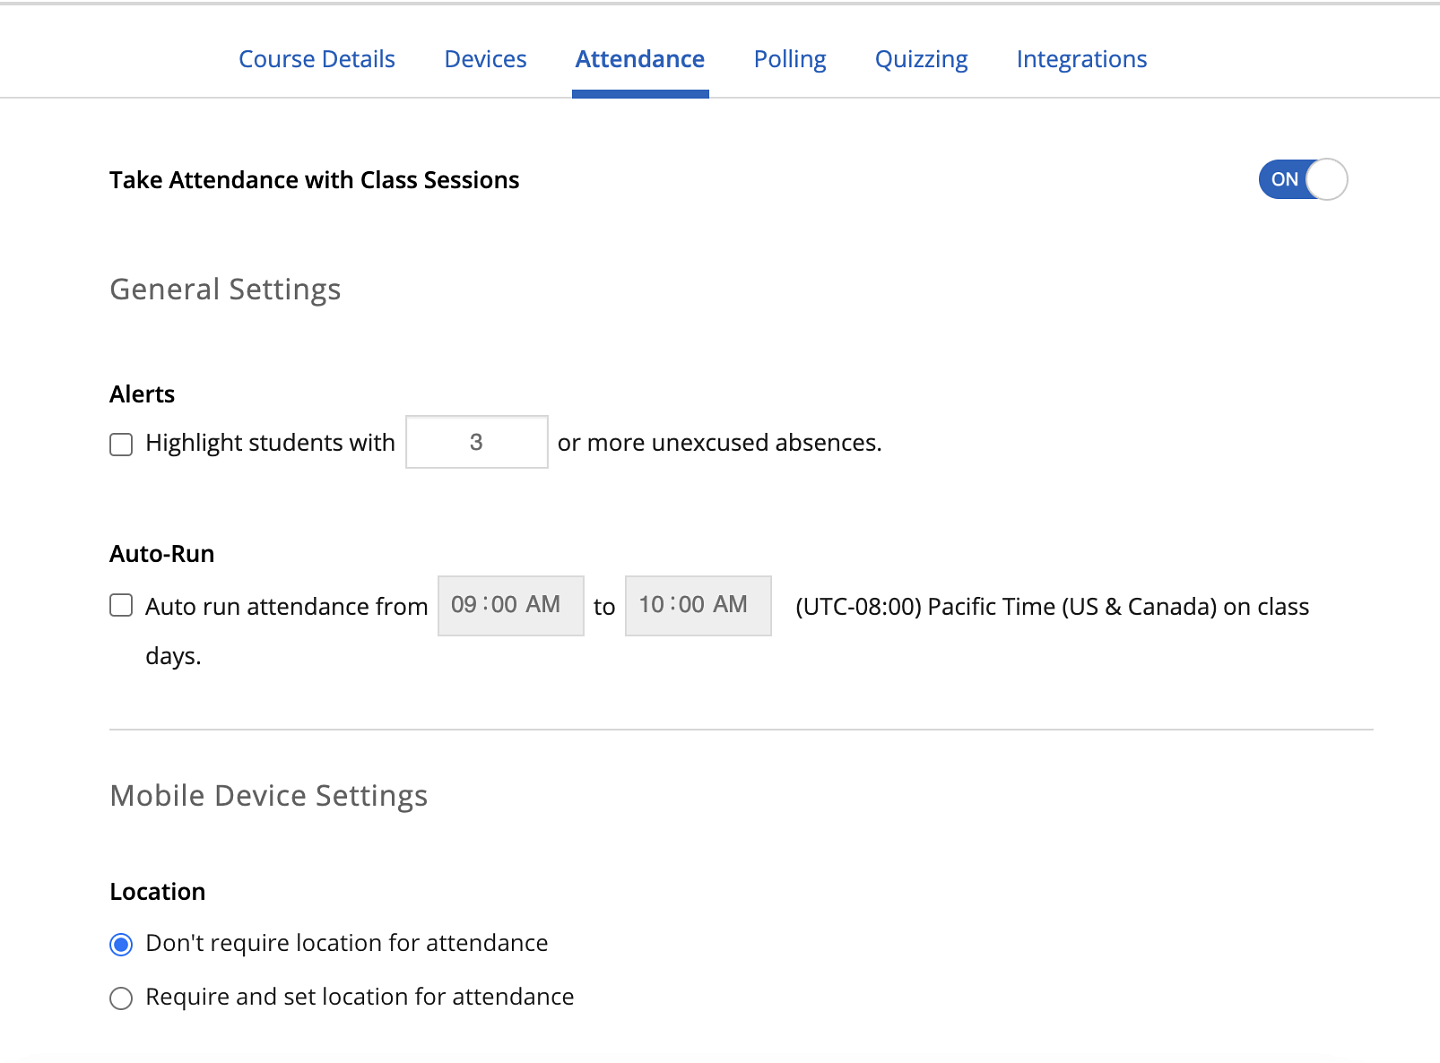
The default option to take attendance with class sessions is turned "on" (note the slide button to the right is clicked to show "on" in blue). You choose the "off" option if you do not plan to take attendance with iClicker Cloud.
General Settings allows you to choose if you want to highlight students with excessive absences in your attendance records and to automate attendance within a designated time frame consistent with your course start and end times.
Mobile Device Settings allows you to restrict the location of your class attendees who will count for attending class by opening a Google maps shortcut. If you will not require students to register attendance from a specific location, choose not to require location.
iClicker Remote Settings asks you to check a box to indicate whether or not students can use remotes to answer a poll or quiz question while attendance is running. If this is a requirement, please be aware that an iClicker base is required in the classroom to operate remotes.
Upon completing adjustments to your Attendance settings, click the “Save” button at top right of the Course Settings page.
- Polling
-
For more information about polling students during class sessions, visit our iClicker Cloud Polling How-To Guide. Once you have saved polling settings here, they will apply to all polls you conduct. You can also adjust settings through the desktop toolbar app.
Upon completing adjustments to your Polling settings, click the “Save” button at top right of the Course Settings page.
- Quizzing
-
For more information about quizzing during class sessions, visit our iClicker Cloud Quizzing How-To Guide. Once you have saved quiz settings here, they will apply to all quizzes you conduct. You can also adjust settings through the desktop toolbar app.
Upon completing adjustments to your Quizzing settings, click the “Save” button at top right of the Course Settings page.
- Integrations
-
This tab allows you to sync iClicker roster and grades to your Canvas course.
- Click the blue “Connect to Canvas” button. You might be asked to provide your username and password to access Canvas courses. A “Connect to Canvas” menu will open, asking for your permission to connect your iClicker course to Canvas. Click the blue “Go to Canvas” button.
- After choosing the blue “Authorize” button from the next pop-up box, a menu will load, asking you to choose the appropriate course from a list of published or unpublished courses.
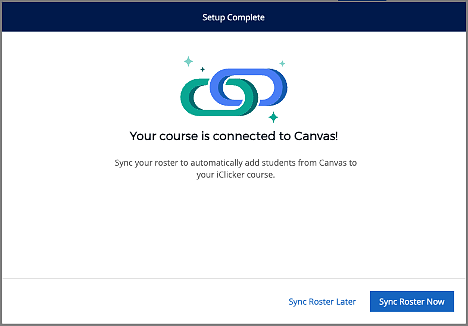
- Choose the appropriate Canvas course and click the blue “Next” button, which opens another menu asking you to choose the appropriate section for the course (and previewing the number of students enrolled already in the course, if applicable, who will be added to the iClicker course). Choose “Connect” here to integrate iClicker Cloud and Canvas. You will notice a box indicating “Setup Complete.” Click the blue “Sync Roster Now” button.
- The syncing process may take a few moments, but further action may be needed to ensure students enroll in the iClicker Cloud course. Click “View Details” to show which students enrolled in your Canvas course who do not have iClicker accounts. You can email these individually or altogether to send instructions about how to enroll as students in your iClicker course.
Upon completing adjustments to your Integrations settings, click the “Save” button at top right of the Course Settings page.
- Click the blue “Connect to Canvas” button. You might be asked to provide your username and password to access Canvas courses. A “Connect to Canvas” menu will open, asking for your permission to connect your iClicker course to Canvas. Click the blue “Go to Canvas” button.
Download the iClicker Cloud Desktop App
To use iClicker Cloud toolbar in class, you will need to download the desktop app onto the computer and/or phone you will use to conduct activities in class.
Before downloading, please note the current system requirements:
- minimum supported version: iClicker Cloud 5.3.1.
- requires a 64-bit processor running Windows 10 or newer with .NET 4.5 or higher or macOS 11 (Big Sur) or newer
To download, visit the Download iClicker Cloud page. Choose either the Windows or Mac option, as appropriate. Follow instructions about how to download the app to your device.
Additional Resources
To ensure a smooth transition to incorporating iClicker Cloud into your teaching strategies, we have curated a collection of essential how-to documents. These resources are designed to guide you through beginning uses of the process, from initial setup to advanced features. Here's what you'll find:
iClicker Support
If you have additional questions, you can search or filter the iClicker Knowledge Base (link opens in a new tab)
You can also contact the following individuals directly:
- Melissa O'Brien: melissa.obrien@macmillan.com
- Brendan Baruth: brendan.baruth@macmillan.com