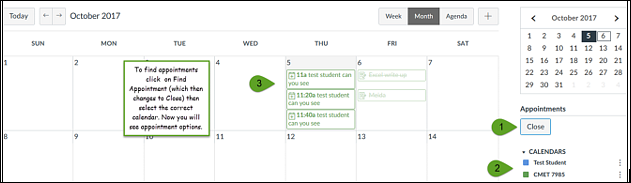
Click on the Calendar in the global navigation menu (far left side of the course). Within the Calendar window, click on the + next to Week/Month/Agenda.

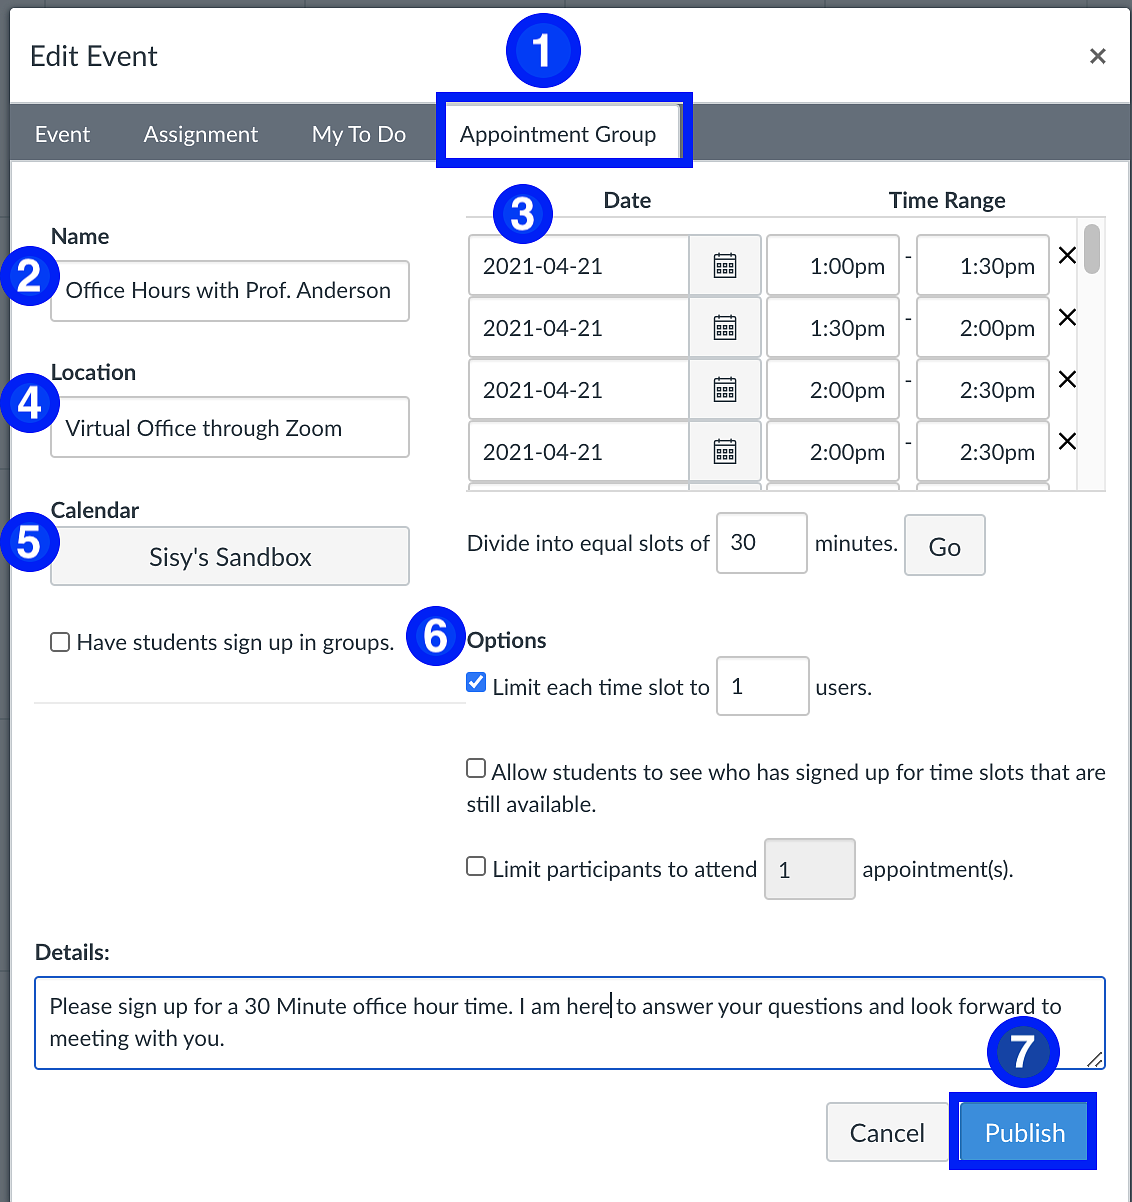
Now you can create an event to invite your students to by clicking on Appointment Group [1].
Your event will need a Name [2] like Office Hours or The Round House (common reading discussion).
You can create Dates [3] for these discussions/meetings to take place. For something like office hours you can put in a big range (1:00pm -2:30) and then have Canvas sub-divide into 30 minute time slots. If you want to have options for students for a reading discussion you can create several options for them and allow them to choose the time frame that works best for their schedule.
After you have given your event a Name, Dates, Time range and Location [4] don’t forget to set the Calendar [5] you want this to appear on.
Under Options [6] you can:
- Limit the number of users for each time slot.
- Allow students to see who has signed up for which time slots.
- Limit students to one appointment if necessary.
- Have students sign up in groups.
Publish [7] your calendar when you're finished.
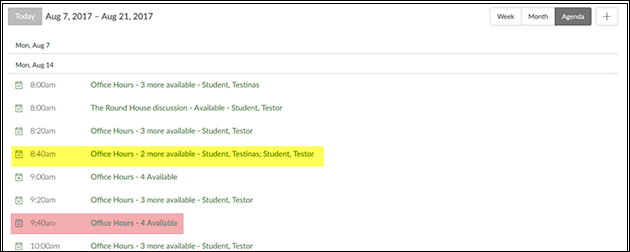
Once you publish this it will appear in your calendar. You can hover over each entry to see who has signed up. You can also click on Agenda and get a list of who has signed up as well.