Step 1: Opening Panopto Capture
When using Panopto Capture always begin in the Canvas course site. To access Panopto Capture in Canvas:
- Click on Panopto Recordings, on the Course Navigation Menu, on the left side of the page
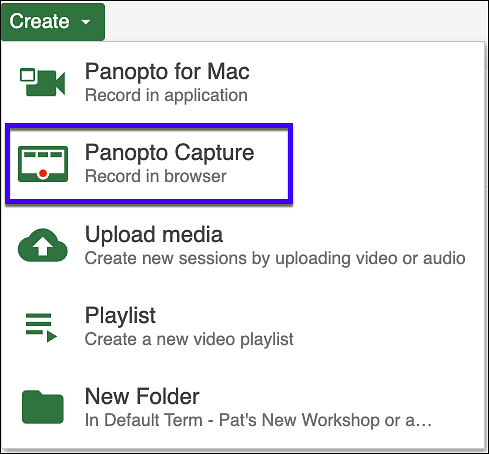
- On the Panopto Recordings page, click on the green Create button at the top of the page
- Select Panopto Capture
If Panopto Recordings is not on the Course Navigation Menu, add it to the menu. Go to Settings, click on the Navigation tab, and drag Panopto above the "Drag items here..." line. Click Save.
Step 2: Panopto Capture Settings
Audio Settings
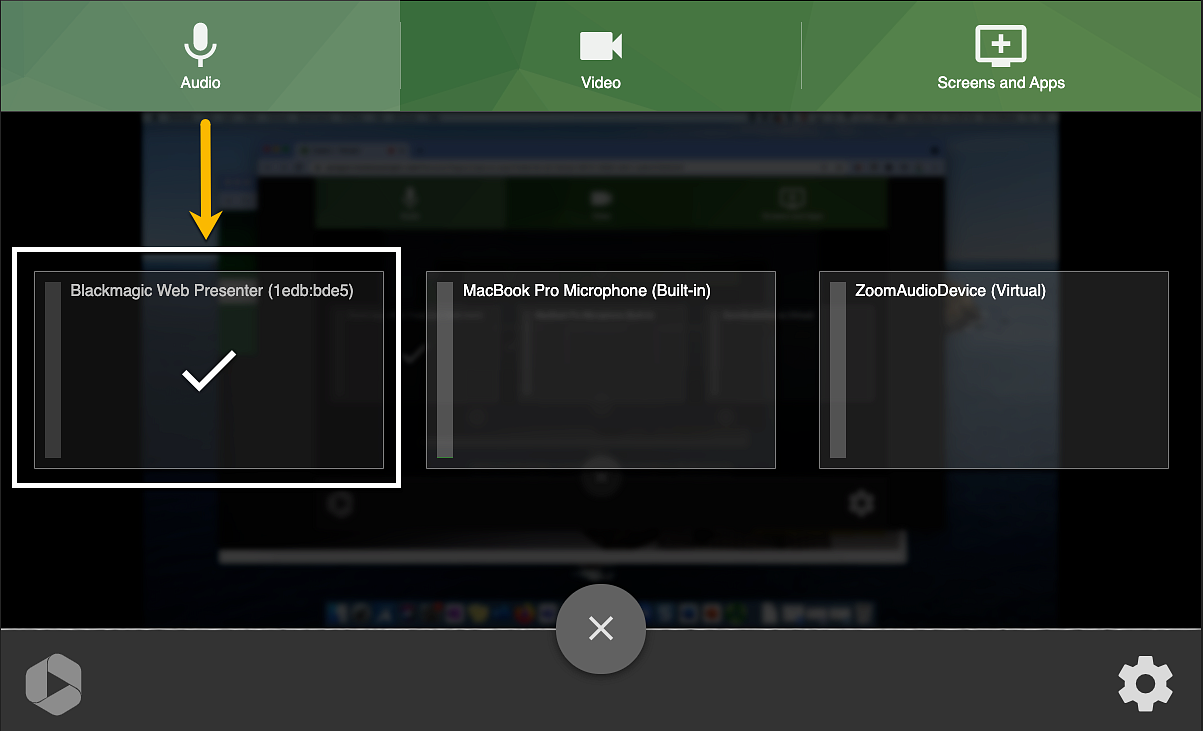
- The three tabs across the top of the window are used to set the Audio, Video, and Screen and Apps settings.
- Click on the Audio tab and select the classroom audio or mic source. In this Hyflex 1 classroom, Blackmagic Web Presenter is the classroom system.
Video Settings
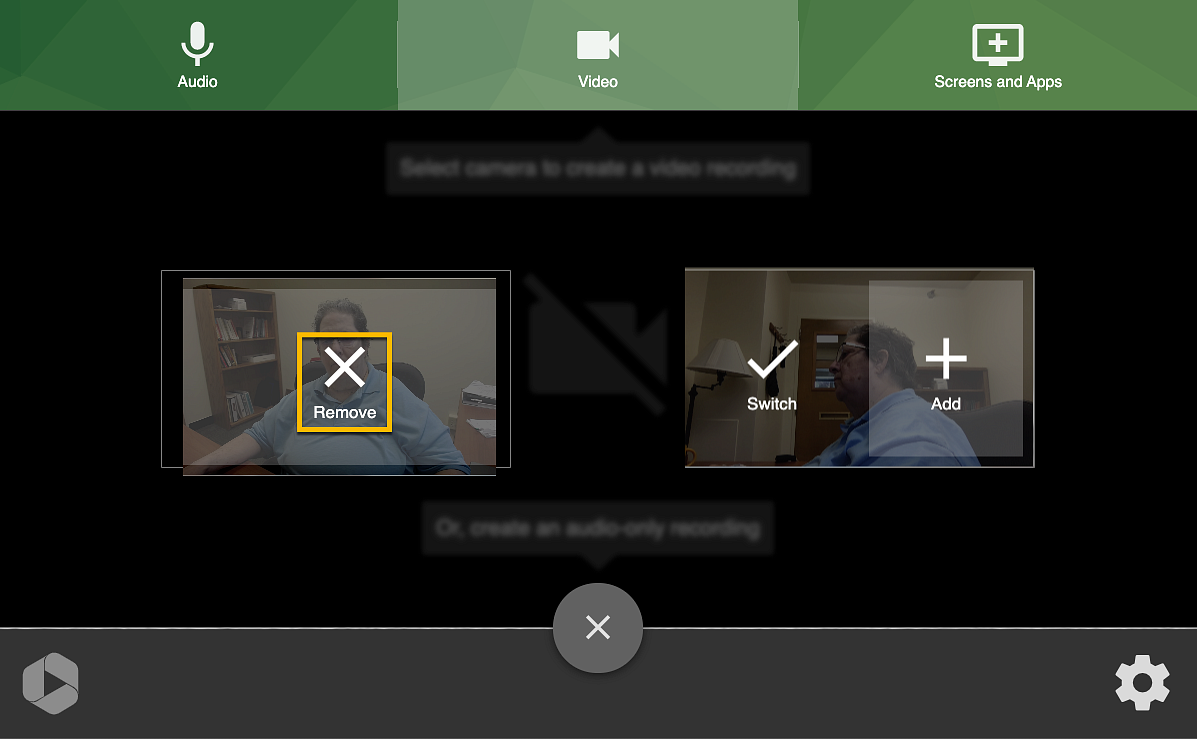
- Click on the Video tab
- If you only want to record the content projected on the screen, you will want to "Remove" the video provided by your laptop. Click on the X to remove it from the settings. If there is a second video source shown, like in the image to the right, do not add it. Leave it as is.
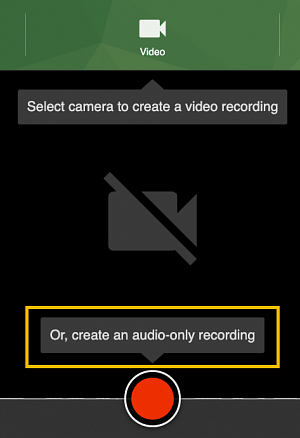
- To confirm the recording will not contain instructor video, click on the X near the bottom-middle of the screen. You should see the same screen as shown here:
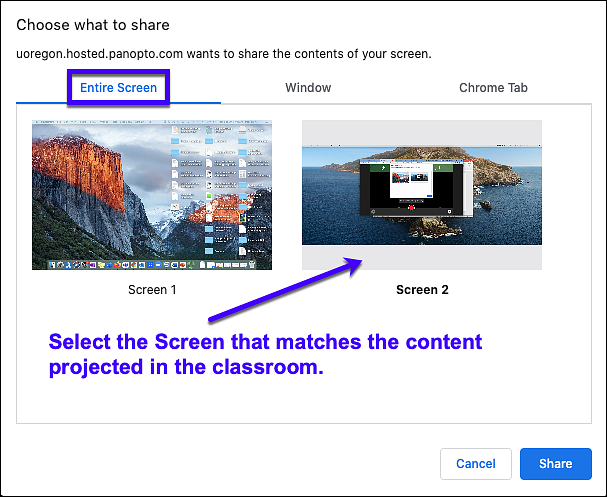
Screens and Apps Settings
- To record the contents of what is projected on the screen in the classroom, click on Screens and Apps. On the window that appears, select the screen that matches the projected screen in the classroom.
- Finish by clicking on Share.
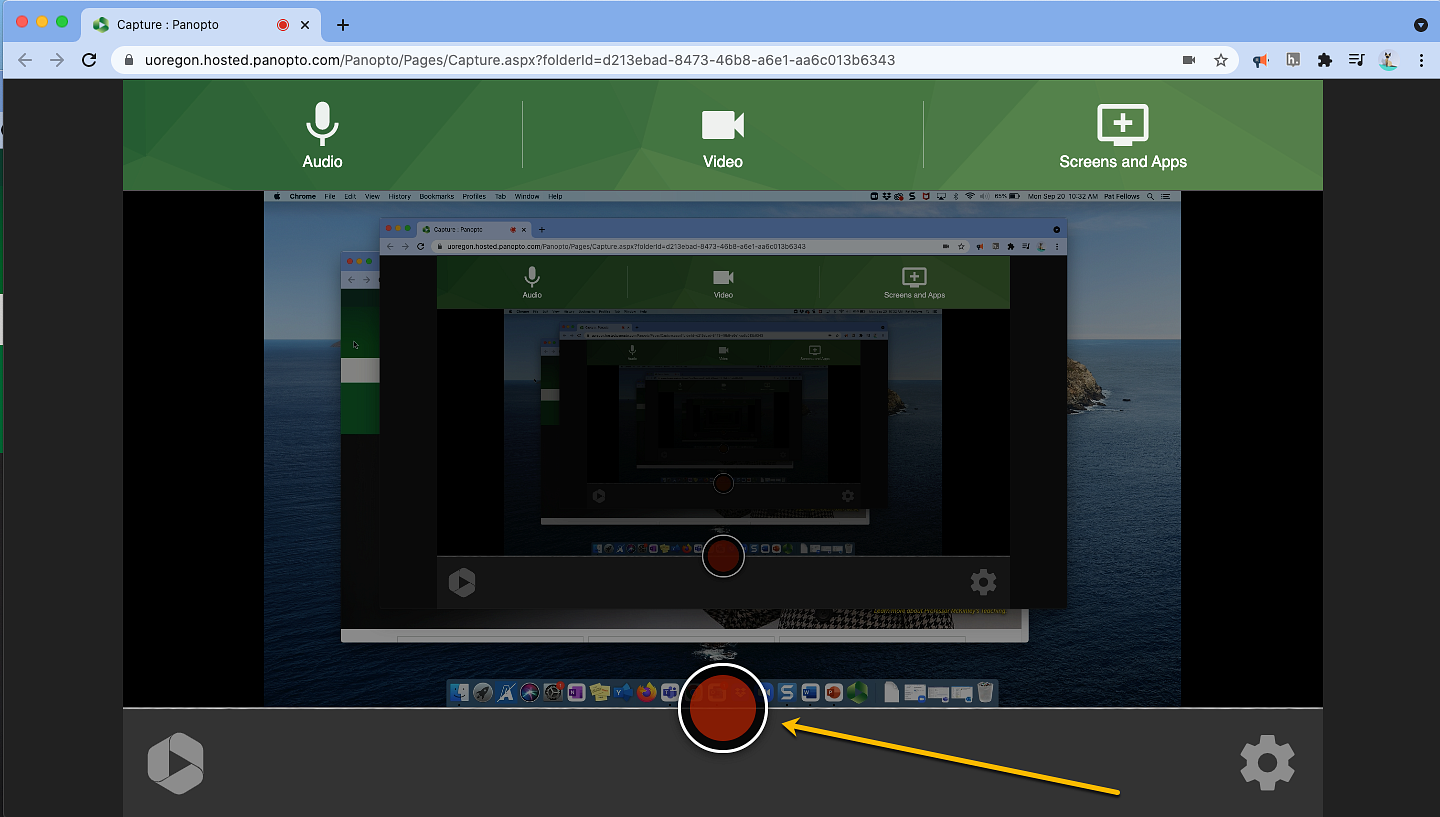
Step 3: Record the Lecture!
- Once the audio, video, and screen settings are set, you are ready to record. Remember to click on the Red Record button before starting the lecture. At the end of the lecture, stop the recording by clicking on the Red Stop Recording button. Be sure to do so before any conversations begin with individual students.
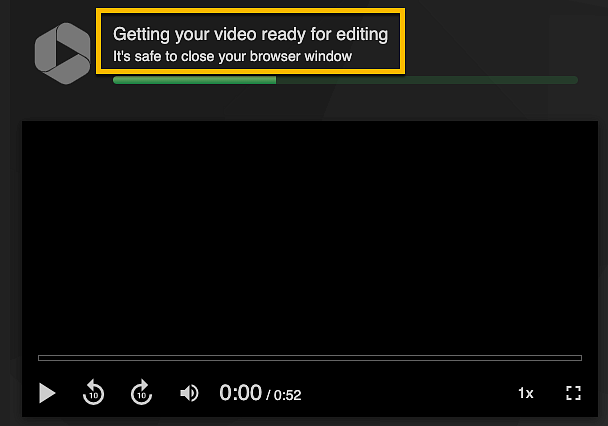
Step 4: Uploading to Panopto
- When the recording is stopped, the upload to Panopto process starts automatically, and goes very quickly. Panopto Capture captures the recording in the cloud, unlike the Panopto App for Mac or the Panopto App for Windows. They record to your computer and then require a longer upload period. The recording is actually moved to your Panopto Recordings in your Canvas Cours site.
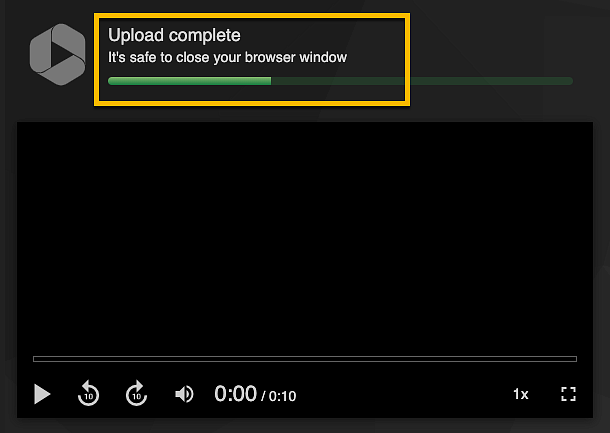
- Once the video upload is complete, you will see a notification that the Upload is complete. It's safe to close your browser.
Step 5: Making the Recording Available to Students
- In Canvas, give the video a meaningful name since, by default, the name is the date and time the video was recorded. Now the video can be embedded on a page, linked to from a page, or students can be allowed access to the video in Panopto Recordings. Review Adding Panopto Videos to a Canvas Course, a how-to-guide.