These instructions can help you quickly set up a Microsoft Form for students to submit assignments if Canvas is in accessible for an extended period. Using a Microsoft Form will store student work in one place, rather than have dozens of emails with student submissions spread throughout your inbox. View instructions for:
Find more ideas for student submissions on our Teaching During a Canvas Outage page.
Setting Up an Assignment Submission Form
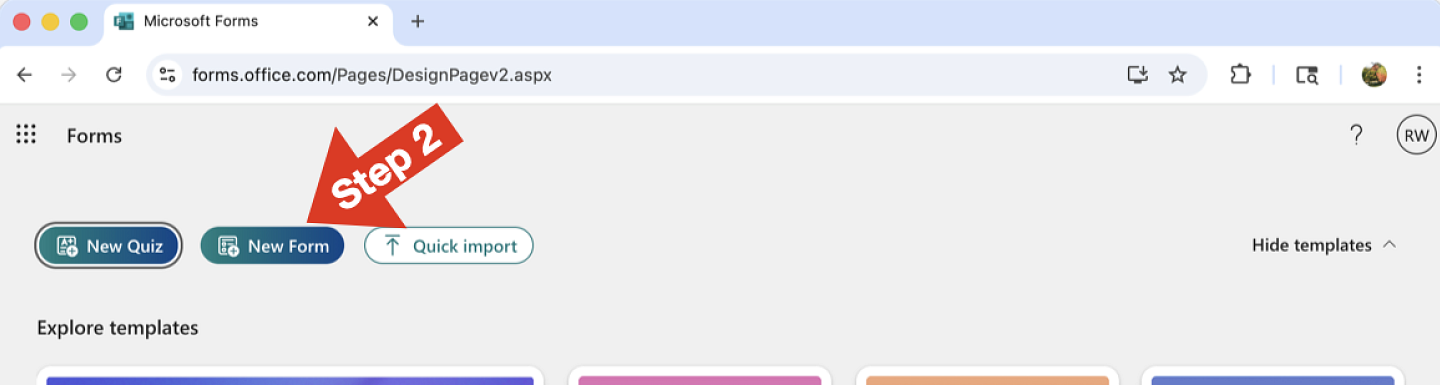
- Go to forms.office.com and log in with your UO email.
- At the top of the window, click on the "New Form" button. A new blank form will open.
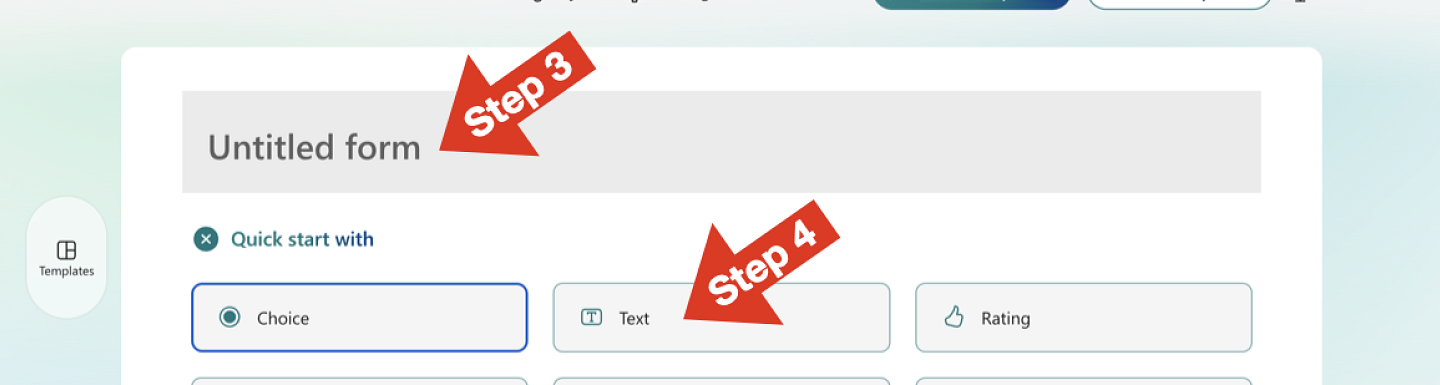
- Give your form a simple title that identifies your class and the assignment.
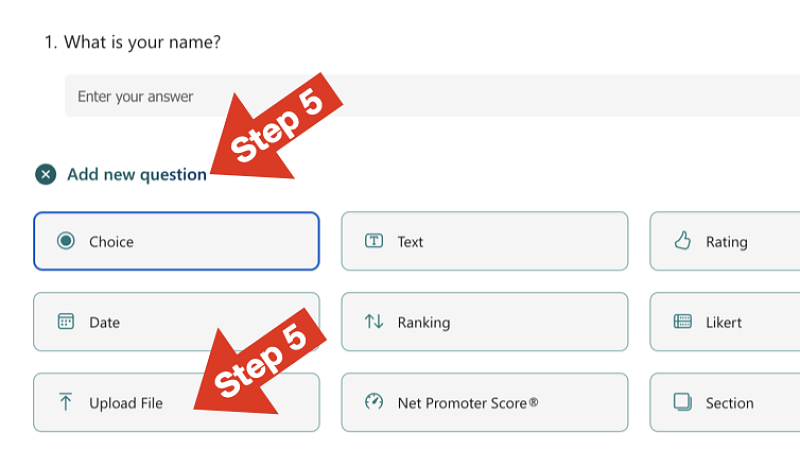
- If there is a "Quick Start with" box, select the "Text" question type. If there is no "Quick Start With" box, click on the "add question" label and select the "Text" question type. Edit the question text to ask for a student's name for the submission.
- Click on the "add question" label and then select the "Upload File" question type.
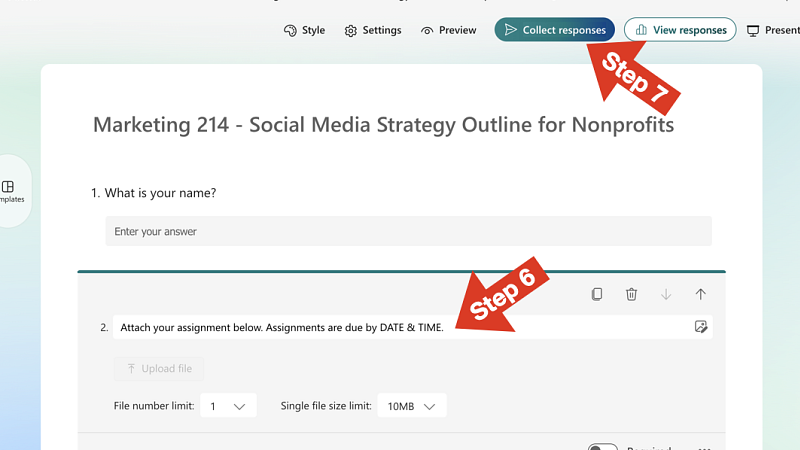
- Give short instructions for the assignment and adjust any file size/number details you need to. A due date for your instructions is probably sufficient. We recommend not trying to add all of the assignment instructions to the form. Instead, include the instructions for the assignment in another format when you share the link to the Microsoft Form with your students.
- Click on the "Collect Responses" button at the top-left of your browser window.
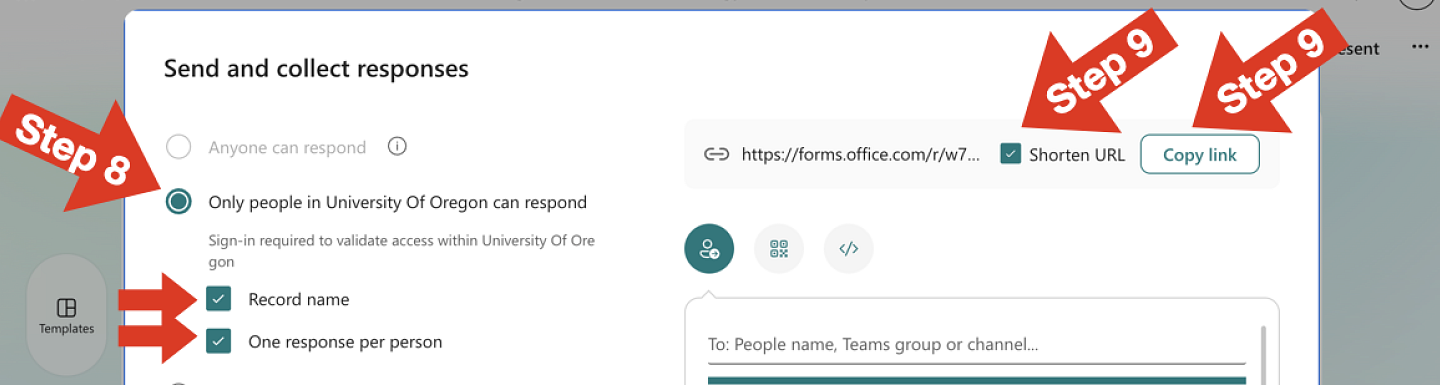
- In the window that opens, select the options to only allow people at UO to respond (so students will need to be logged in), to record submitter names and to allow just one response per person (if you wish).
- Select the "Shorten URL" option and then click the "Copy link" button so you can send it to students. We encourage you to share the link to your form with with students through a direct email from you, rather than try to set up the form to email students automatically.
Viewing Student Submissions
- Go to forms.office.com and log in with your UO email.
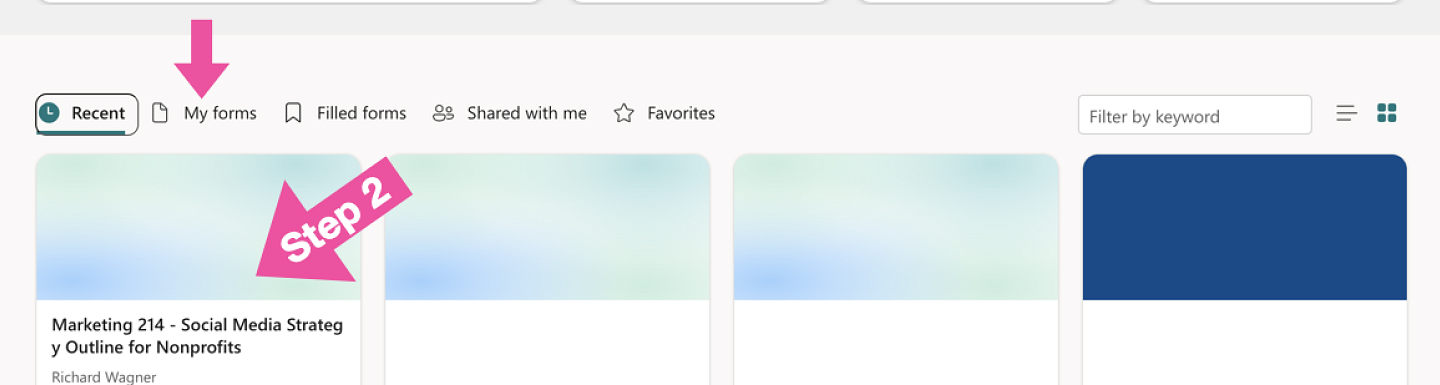
- Open the form for your assignment by clicking on its box in the "Recent" or "My Forms" tab.
- Once your form opens (it should open the version you can edit, not the version for students to submit work to), click on the View Responses button.
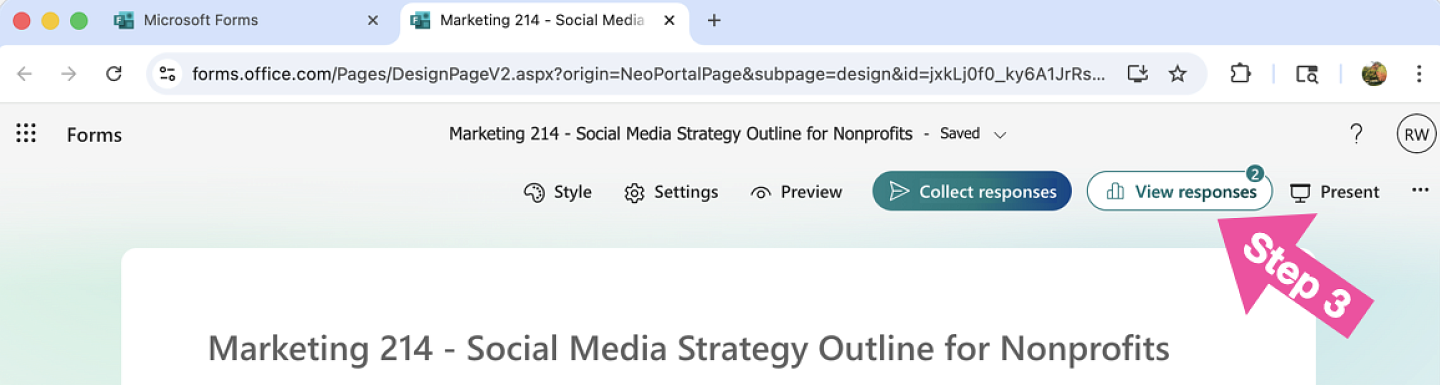
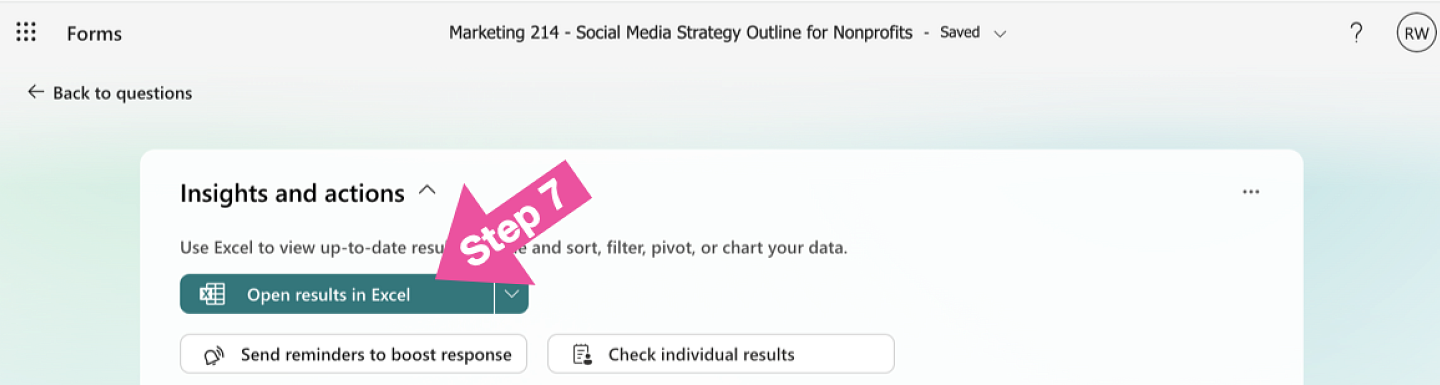
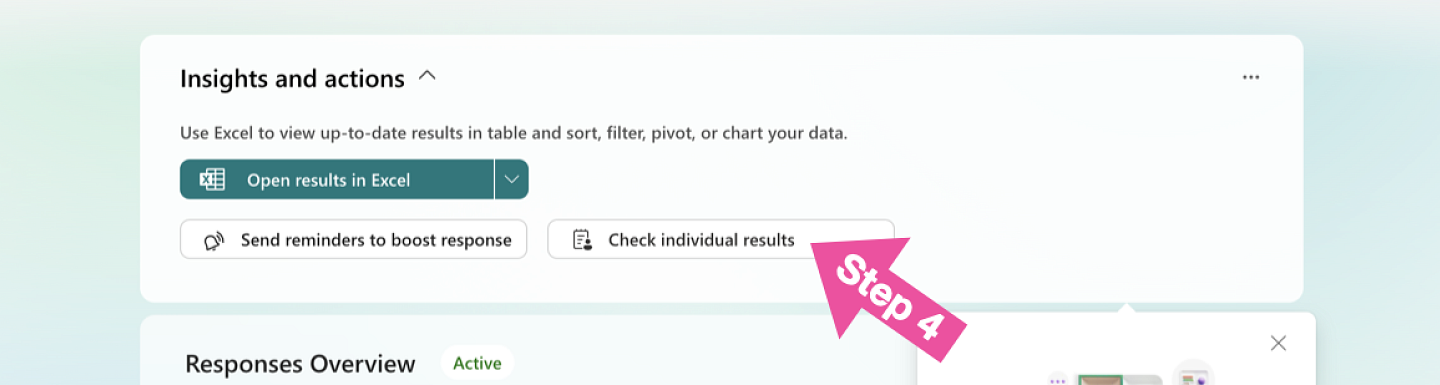
- Click on the "View Individual Results" button to see each submission individually (see steps 5 and 6 below). You could also click on the "Open results in Excel" button to get a list of responses (see steps 7 and 8 below).
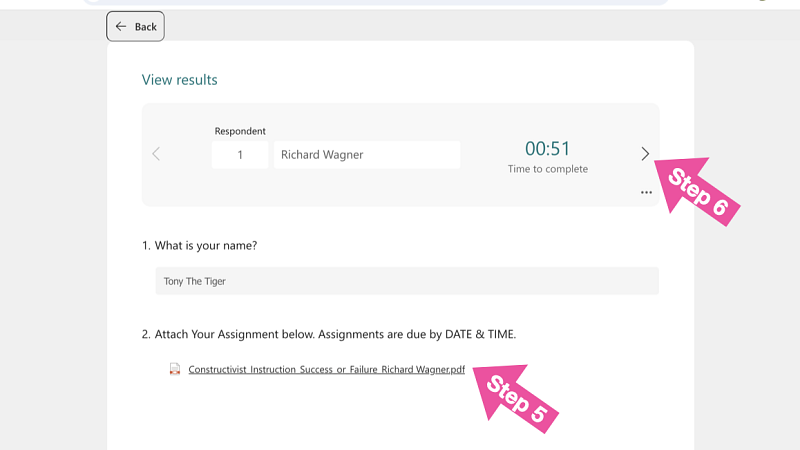
- When viewing individual results, you can click the link to the file a student uploaded to view it.
- When viewing individual results, click on the right arrow to view the next student.
- Rather than viewing individual results, you could open results in excel when on the View Responses screen.
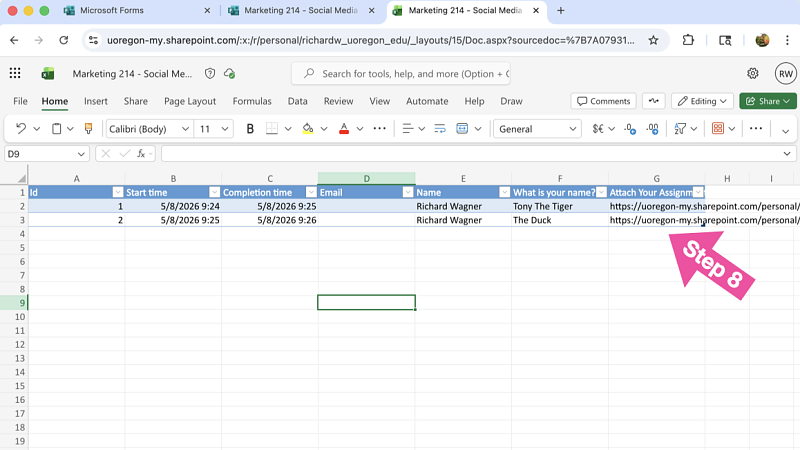
- In the excel file that opens, each submission with include a link to the file students upload (stored somewhere in the cloud). Because of the crazy file name, you may have to copy-and-paste the URL for each file from the excel cell and into your browser, rather than follow an easily clickable link.